
If you’re manually setting up a website or installing WordPress, Joomla, Drupal, etc., you’ll need a MySQL database. Here’s a quick tutorial on how to create one on KamHost. (Note: If you use the Website Installer in the control panel to install a website, you don’t need to do this, as the auto-installer will create a MySQL database for you.)
Step 1: Log in to Your Control Panel
- Go to your KamHost control panel: https://cp.kamhost.com.
- Enter your hosting username and password to log in.
Step 2: Open MySQL Databases
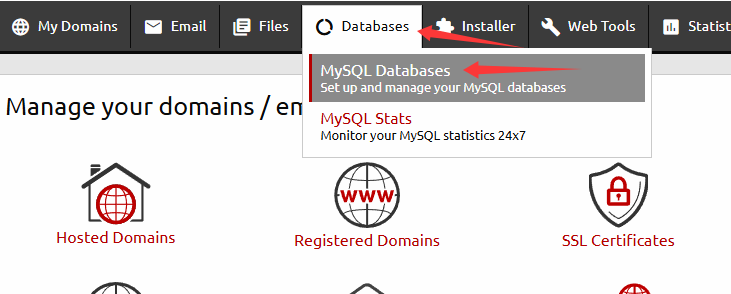
- In the control panel menu, click on Databases.
- Then select MySQL Databases.
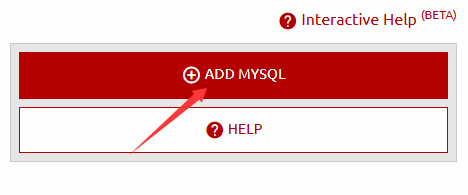
Step 3: Click “Add MySQL”
- Click the Add MySQL button.
- A prompt window will appear for entering your database details.
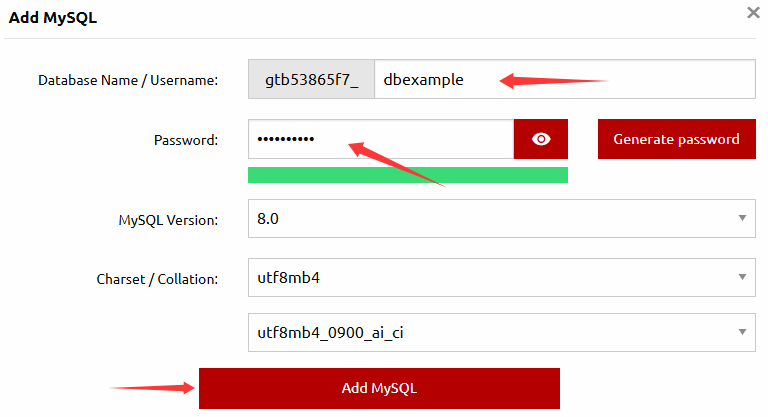
Step 4: Enter Database Details
- Database Name / Username: Choose a name for your database, the username is the same as the database name. And the database name/username will be prefixed with your control panel username_.
- Password: Enter a strong password.
Once done, click Add MySQL to create the database.
Step 5: Save Your Database Information
After creating your database, make sure to note down:
- Database Name
- Username
- Password
- Database Host (usually
localhost)
You’ll need this info when installing your website or connecting your application.